
SUMMER CAMPS are LIVE!
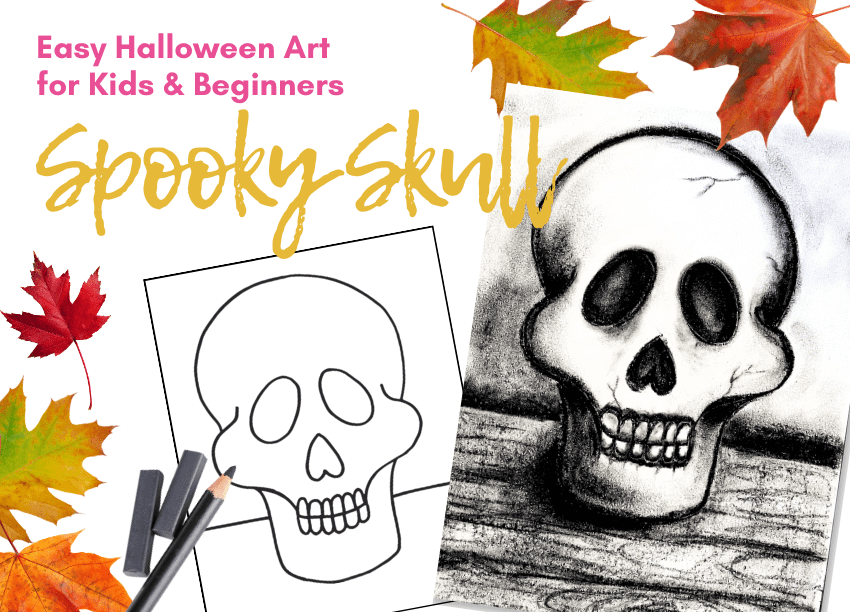
Halloween is just around the corner, and what better way to get into the spooky spirit than by creating some hauntingly beautiful art?
In this step-by-step guide, I’ll show you how to draw a spooky skull using chalk pastels or charcoal.
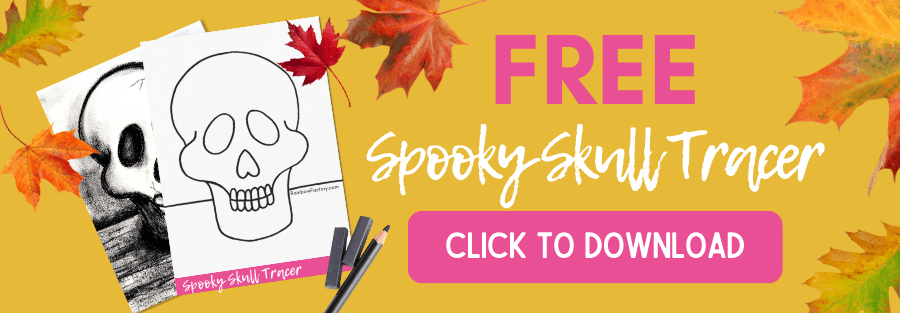
This project is perfect for kids and beginners, and I’ve even included a free printable tracer to help you get started.
Before you get started –
Download and print the Spooky Skull Tracer. Place the tracer under your paper and simply trace with a pencil. If you’re having trouble seeing the tracer through your paper, try placing it on a lit window or glass table with a lamp placed underneath.
Materials You’ll Need:
Charcoal and Chalk Pastel Tips and Tricks:


Step 2: Add more shadows above and below the cheekbones. Now, it’s time to add some eerie depth to your skull. At the points just above and below the cheekbones, add more chalk and use your finger to “swoop” up (on top) or down (on bottom).
Step 3: Add the background. Begin by tracing the horizontal line. Then use one finger to blend up in short, straight strokes.
Next, use the long side of your chalk to gently rub across the entire surface of the table. then gently blend. This will give the table a bit of texture.
To give the wall a smoother texture, rub the chalk directly onto your finger, then rub the paper in large circular motions.

Step 4: Add a dark shadow under the skull. This is going to give your skull some visual weight. Roughly scribble a shadow under and slightly left of your skull. Now use your finger to gently blend out towards the left of your paper. Wow! What a difference a shadow can make. Now, it’s time to add details like the teeth, cracks in the skull, or any other spooky elements you desire. Use your charcoal to add these details, keeping a light hand for a subtle, eerie appearance.
Step 5 (optional): Add your own creepy touches. To make your skull even more menacing, darken the shadows and add some final details to make it stand out. Feel free to get creative and add your personal touch to your Halloween masterpiece. In the example, I added cracks around the skull and wood grain to the table. I used a Q-tip for blending these fine details.

Drawing a spooky skull with chalk pastels and charcoal is a fantastic Halloween art project for kids and beginners. I hope you enjoyed creating this ghoulish masterpiece and learned how awesome chalk pastels can be to work with.
Get creative, experiment with different shades, and have fun with your Halloween artwork.
Drop me a line and let me know how it went!
Happy Halloween!